
Coffee Grounds in Your Cup? Time to Clean the Needles and Water Line

If you’ve found coffee grounds in your cup, it’s time to clean the needles and water line. Coffee pods contain a needle that is attached to a cylindrical hole. To clean the needle, insert a paperclip into the hole and wiggle it around to remove the grounds. Rinse the funnel and K-cup holder thoroughly. Then, place them back into your Keurig.
Cleaning a Keurig needle
If you’ve found a piece of debris in your cup, you’ve probably wondered how to clean a Keurig needle. You can use a paper clip to remove the debris from the bottom of the needle. Just be sure to wash your hands after you use it, as the needle is sharp! Also, it’s important to remember that cleaning a Keurig needle should only be done when it is turned off and not plugged in.
The first step in cleaning a Keurig needle is to remove the K-Cup from the machine. Lift the top of the brewer’s compartment to access the needle. You’ll see a small piece of coffee ground on the needle’s surface. Then, use a paper clip to loosen any clogs on the needle. Repeat the process until you see the needle is clean.
The next step is to use a small plastic tool provided with your Keurig machine to clean the needle. This tool scrapes out coffee grounds from the needle. You can also use a straightened paper clip or toothpick as an alternative. Clean the needle carefully while the machine is turned off and use a gentle approach. Make sure to follow the manufacturer’s instructions and avoid bending the needle.
Another step is to use a paper clip as a tool for cleaning a Keurig needle. This will loosen any coffee grounds or particles and then rinse the needle with clean water. Then, you can clean the needle as necessary. When the needle is clean, the coffee grounds will stay out of your cup. The cleaning process should take just a few minutes. If you follow these steps, you’ll have a fresh-tasting cup every time.

If you’re worried about piercing yourself, you can try a paper clip to clean your Keurig needle. To clean the needle, insert the tool in the k-cup compartment and twist the clockwise direction to remove the grounds. Then, rinse the machine with clean water and repeat the process as needed. As you can see, cleaning a Keurig needle is simple, safe, and effective!
Cleaning a Keurig
Keeping your Keurig functioning at top capacity requires a thorough cleaning. Although a Keurig is appreciated for its convenience, it can be difficult to maintain when mineral deposits build up. If you want to avoid costly repairs, you can clean your Keurig with a mixture of vinegar and water. Listed below are some methods to clean Keurigs. Make sure to follow all instructions carefully to avoid damaging your Keurig.
To begin, wet the surface of the Keurig with warm water. Then, use a wet microfiber cloth to wipe away any mineral deposits. To remove any limescale deposits, use white vinegar. Make sure to follow the manufacturer’s instructions when applying the cleaner. After the cleaning process, make sure to disconnect the Keurig from the power source and empty the water reservoir. Repeat the procedure every two weeks to remove any traces of cleaner.
Despite being inexpensive and convenient, cleaning a Keurig is crucial to maintain its optimum performance. This machine is prone to odors, mold, bacteria, and germs. As a result, regular cleaning can keep your machine smelling fresh and producing the best-tasting coffee. Whether you’re making your own coffee at home or getting an espresso at a cafe, it is important to clean your Keurig properly to prevent it from malfunctioning.
Descaling your Keurig coffee maker is necessary every three to six months. This will prevent calcium deposits and scale buildup from accumulating on the machine. For best results, clean the Keurig’s drip tray with an alcohol-based cleaning solution once every week or so. You can also clean the machine’s interior and exterior with soap and water. You should also clean the cold water reservoir and drip tray once in a while, especially if you’re brewing coffee on a daily basis.
To clean the exterior of your Keurig, you can use a lemon or vinegar mixture. Lemon juice and vinegar are excellent home remedies to remove oily buildup. If you’re tired of using lemon juice and vinegar, you can use Keurig descaling solution, a specialized solution made to remove mineral buildup. The solution is odorless, nontoxic, and will extend the life of your Keurig brewer.
Cleaning a Keurig k-cup holder
Regardless of whether you use your Keurig on a daily or weekly basis, you should clean your machine thoroughly at least once a month to maintain its purity and quality. The water reservoir and brew head can become clogged with dirt and debris, which may lead to the taste of your coffee becoming less than ideal. Cleaning your Keurig around the k-cup holder will improve its performance and durability. Depending on the model you have, the process can be slightly different.
First, pour a solution of citric acid into the water reservoir of your Keurig. You can find citric acid at any grocery store, canning aisle, or online. Mix one-half cup of citric acid solution with a gallon of water. Run the machine for a couple of cycles using this solution, followed by the other half. You may need to repeat the procedure several times to remove all of the scale.
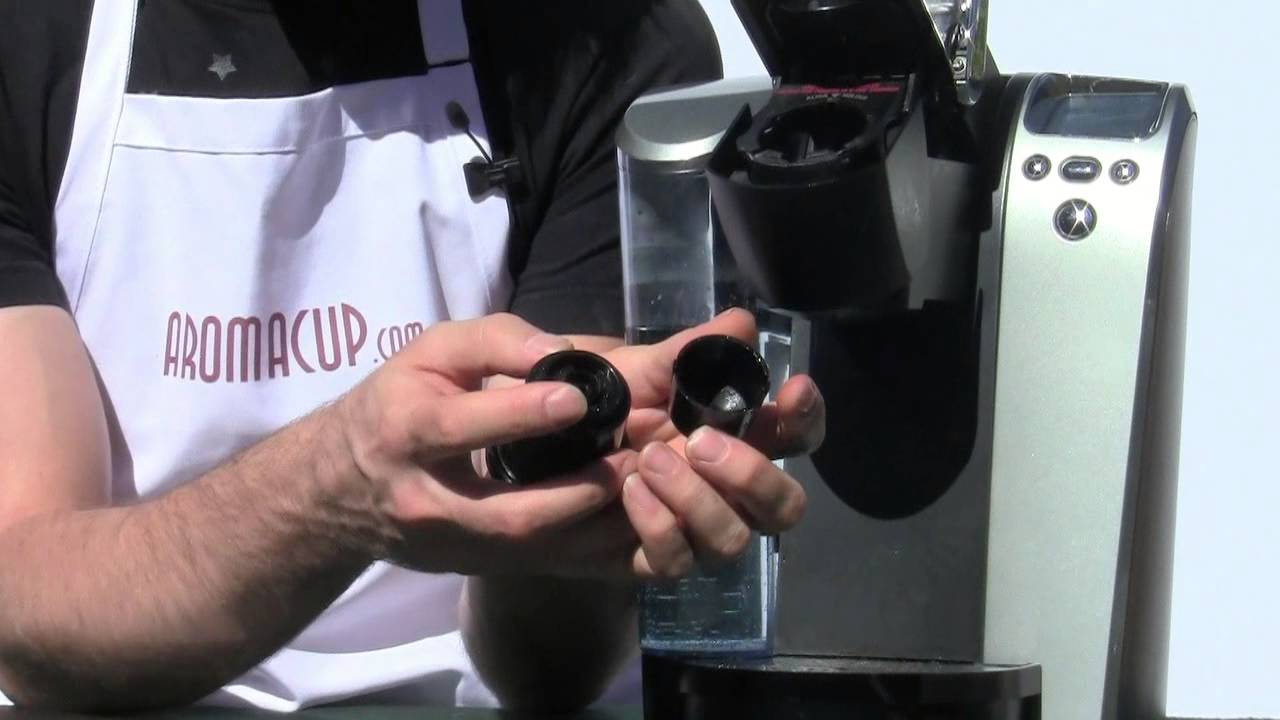
To clean the K-cup holder, first remove the funnel that sits inside. Once this is removed, you can insert a paper clip into the exit needle to push out the coffee grounds. Next, remove the k-cup holder from the machine. If the k-cup holder has a funnel, the exit needle is located under the handle. To clean the exit needle, you can use a paper clip to push out the grounds.
Besides cleaning the K-cup holder, you should clean your Keurig regularly. If you want to make sure your coffee stays fresh and tasty, you must clean your Keurig on a monthly basis. After all, it’s not just a waste of time. Clean your Keurig on a regular basis so it will remain in good working condition for years to come. The above-mentioned cleaning process should prevent your Keurig from malfunctioning or making your coffee taste less than desired.
The cleaning process starts with descaling. Descaling helps remove calcium deposits from coffee machines. The calcium helps break down harmful bacteria and minerals. Bacteria thrive in coffee machines, so descaling will help get rid of the bacteria and other deposits that can lead to coffee that is too watery. Clean the K-cup holder regularly to extend its service life and quality. Cleaning your Keurig will help make it your favorite appliance in your kitchen.
Cleaning a Keurig water line
In order to make coffee, you’ll need to clean your Keurig’s water line. To do this, you should remove the water filter and hold the machine upside down over the sink. With the lid facing down, give the machine a few taps from the bottom. This method has been known to dislodge clogs. To do this successfully, you should wait until the water has cooled down.
If you use a vinegar solution, simply pour it into the water tank of the Keurig. Wait for about 20 minutes, then pour the solution into the brewer. Repeat this process every few months. Make sure that you use soft water, as hard water causes more problems. Use bottled or filtered water instead. The vinegar solution can eat away at coffee oils and mineral deposits. After the cleaning process is complete, rinse the machine thoroughly and replace the filter.
If you don’t want to mess with the water line, you can also purchase a maintenance kit that includes convenient needle rinse pods and an extra brewer maintenance accessory tool. These kits can make your Keurig water line cleaning process easier, but are not essential. You can also purchase a K-Cup holder and water reservoir separately. Purchasing these items can help you keep your Keurig working like new and avoid phantom error messages.
Before cleaning the water line in a Keurig, remove the pod holder from the machine. Then, detach the bottom funnel portion from the pod holder. Once you have dismantled the pod holder, remove the k-cup holder and rinse it with warm water. If you notice any clogs, use a paperclip to dislodge them. This should remove any obstructions.
If the tank still contains water, don’t leave it overnight. Not only does this cause a clog, but it also encourages the growth of mold. Make sure that the water tank is completely empty every night. Wash the removable parts, including the water reservoir, at least once a week. The reusable parts of the Keurig should be cleaned at least twice a week. To prevent the formation of mold, wash them every day using a solution of baking soda or white vinegar.https://www.youtube.com/embed/1oE6Bz2w9mg