So you’ve just purchased a brand new Nespresso Turmix and you’re eager to start brewing your perfect cup of coffee. But wait, how exactly do you use it? Don’t worry, we’ve got you covered. In this article, we’ll guide you through the step-by-step process of using your Nespresso Turmix, ensuring that you can enjoy a delicious cup of coffee every time, hassle-free. No more fumbling around with complicated instructions or guessing games – we’ll break it down for you in the simplest way possible. Get ready to elevate your coffee game and become a Nespresso Turmix pro in no time.


Product Overview
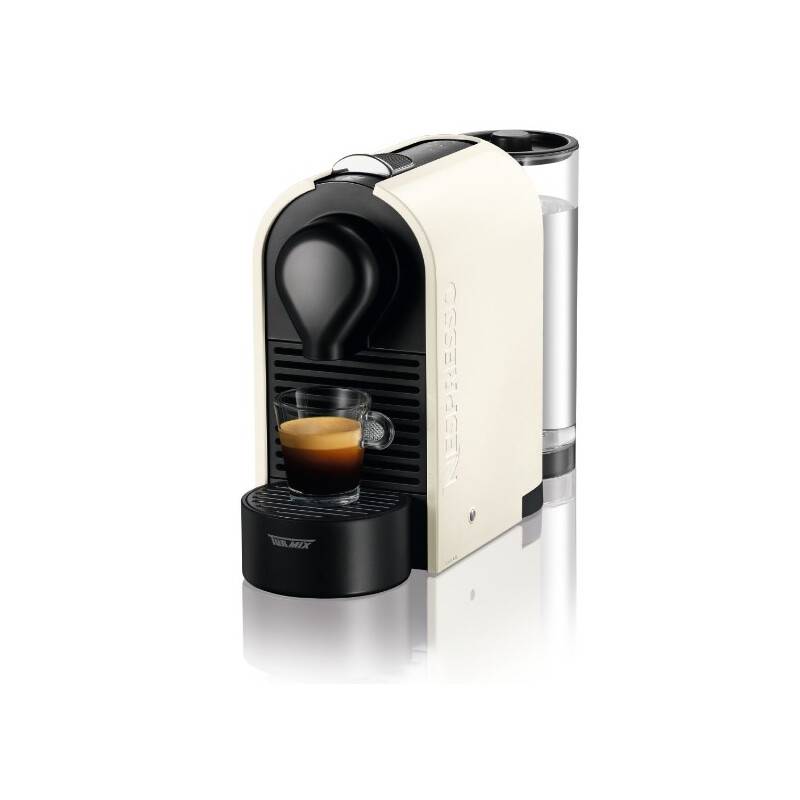
The Nespresso Turmix is a compact and sleek coffee machine that allows you to enjoy high-quality coffee in the comfort of your own home. It is designed to be user-friendly, with a range of features that make the brewing process simple and convenient. Whether you prefer a strong espresso or a smooth cup of coffee, the Turmix is capable of delivering the perfect brew every time.
Components
The Nespresso Turmix comes with several essential components that are necessary for its operation. These include the main unit, the water tank, the drip tray, the capsule container, and the brew head. Each component is designed to work together seamlessly, ensuring that you can brew your favorite coffee effortlessly.
Features
The Turmix is packed with features that enhance the brewing experience. It boasts a powerful heating system that rapidly heats the water to the optimal brewing temperature. This ensures that your coffee is brewed quickly and efficiently. Additionally, the Turmix offers multiple brew sizes, allowing you to customize the strength and volume of your coffee. The machine is also equipped with an intuitive control panel, making it easy to navigate and select the desired settings.
Preparing the Nespresso Turmix
Before you can start brewing your coffee, it is important to properly prepare the Nespresso Turmix. This involves unboxing the machine and cleaning its various components.

Unboxing
When you first receive your Nespresso Turmix, take the time to carefully unbox it. Remove all of the packaging materials and set them aside. Ensure that you have all of the included components, including the main unit, water tank, drip tray, capsule container, and brew head. Check for any signs of damage or missing parts.
Cleaning
Before using the Turmix for the first time, it is essential to clean all of the components. Start by removing the drip tray and capsule container. Wash them with warm soapy water and rinse thoroughly. Dry them completely before placing them back into the machine. Next, remove the water tank and clean it using a mild detergent. Rinse it thoroughly and ensure that it is completely dry before reattaching it to the Turmix. Cleaning the machine before its initial use helps to remove any manufacturing residues and ensures that your coffee will taste its best.
Using the Nespresso Turmix
Once the Turmix is properly prepared, it is time to start using it to brew your favorite coffee. There are several key steps involved in the brewing process, including powering on the machine, filling the water tank, inserting the coffee capsule, and selecting the brew size.
Powering On
To power on the Nespresso Turmix, locate the power button on the machine. Press and hold the button until the machine turns on. You may hear a sound or see a light indicator to confirm that the machine is powered on and ready to use.
Filling the Water Tank
Before you can brew your coffee, you need to ensure that the water tank is filled with fresh, cold water. Remove the water tank from the machine by lifting it up gently. Fill it with water up to the maximum fill line indicated on the tank. Be careful not to overfill the tank to avoid any water spillage during the brewing process. Once the tank is filled, place it back into the machine, ensuring that it is securely attached.
Inserting the Coffee Capsule
The Nespresso Turmix uses coffee capsules to brew your favorite coffee. To insert the coffee capsule, open the brew head by lifting the lever. Place the capsule into the capsule container, ensuring that it is centered and securely positioned. Close the brew head by lowering the lever until it clicks into place, indicating that the capsule is properly inserted and ready for brewing.
Selecting the Brew Size
The Turmix offers multiple brew sizes, allowing you to customize the strength and volume of your coffee. To select the desired brew size, locate the appropriate button on the control panel. Press the button once to start the brewing process. You can adjust the brew size by pressing the button multiple times until you reach your preferred size.
Brewing Coffee
Now that the Nespresso Turmix is prepared and set up, it is time to brew your perfect cup of coffee. There are several important steps involved, including choosing a coffee blend, placing the cup, selecting the brew temperature, starting the brewing process, and adjusting the coffee strength.
Choosing a Coffee Blend
The quality and taste of your coffee rely heavily on the coffee blend you choose. Nespresso offers a wide range of coffee capsules, each with its unique flavor profile. The Turmix is compatible with Nespresso coffee capsules, ensuring that you have a variety of options to suit your preferences. Experiment with different blends to find the one that suits your taste buds.
Placing the Cup
Before starting the brewing process, place a cup or mug under the brew head to collect the coffee. Ensure that the cup is the appropriate size and positioned correctly to avoid any spills or splashes during brewing.
Selecting the Brew Temperature
The Nespresso Turmix allows you to customize the brew temperature according to your preference. Use the controls on the machine to adjust the temperature. Some coffee blends may taste best at a lower temperature, while others may require a higher temperature to extract their full flavor potential. Experiment with different temperature settings to find the one that enhances the flavor of your chosen coffee blend.
Starting the Brewing Process
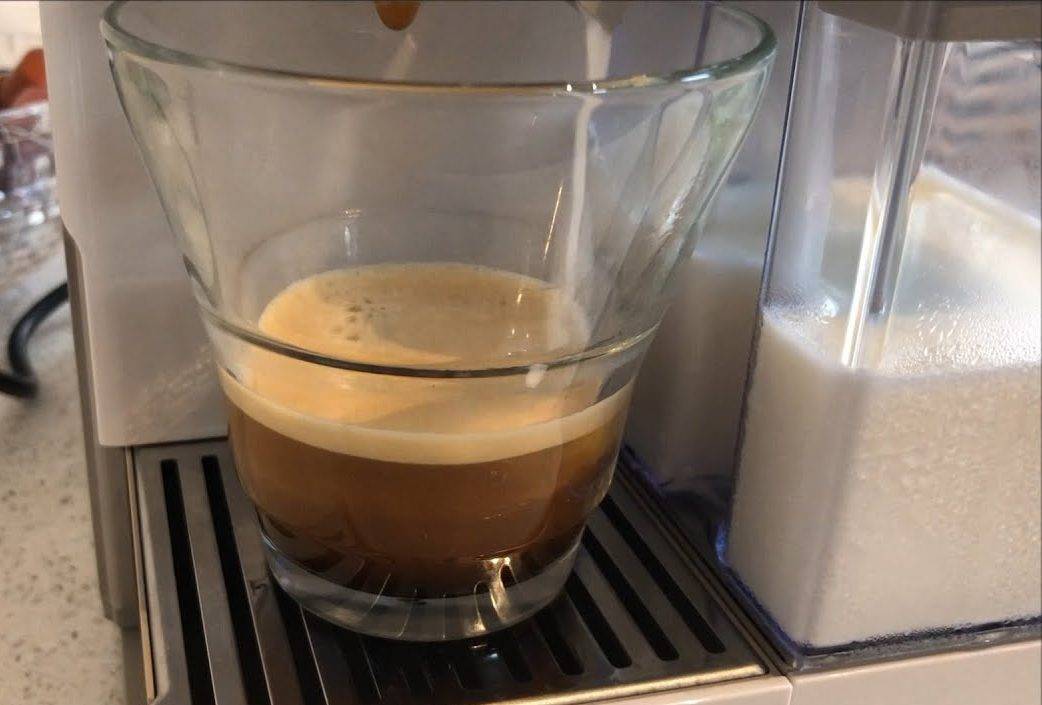
With the cup in place and the desired brew temperature selected, you are ready to start the brewing process. Press the brew button on the control panel to begin brewing. The Turmix will automatically take care of the brewing process, extracting the coffee from the capsule and delivering it directly into your cup. Sit back and enjoy the aroma as your coffee brews to perfection.
Adjusting Coffee Strength
If you prefer your coffee stronger or milder, the Nespresso Turmix allows you to adjust the coffee strength. Simply press the coffee strength button on the control panel to increase or decrease the strength. Experiment with different settings to find the perfect balance that suits your taste.

Cleaning and Maintenance
Proper cleaning and maintenance of the Nespresso Turmix are crucial to keep it in optimal condition and ensure that your coffee always tastes its best. There are two key areas that require regular cleaning: the drip tray and capsule container, and the descaling process.
Cleaning the Drip Tray and Capsule Container
To maintain cleanliness and prevent any build-up of coffee residues, regularly remove the drip tray and capsule container for cleaning. Wash them with warm soapy water, rinse thoroughly, and dry completely before placing them back into the machine. Regular cleaning of these components will help to maintain the quality of your brewed coffee.
Descaling
Over time, mineral deposits can accumulate in the internal parts of the Nespresso Turmix. Descaling is the process of removing these deposits to ensure that the machine functions properly. It is recommended to descale the Turmix approximately every three to six months, depending on the hardness of your water. Nespresso provides descaling kits that contain the necessary descaling solution and instructions for the process. Follow the instructions carefully to effectively remove any mineral deposits and maintain the performance of your machine.
Troubleshooting Common Issues
While the Nespresso Turmix is designed to be easy to use, occasionally, you may encounter some common issues. Understanding how to troubleshoot these issues can help you get your machine back up and running smoothly. Here are a few common problems and their solutions:
Machine Not Powering On
If the Nespresso Turmix does not power on, check the power source and ensure it is properly connected. If the power source is fine, try pressing and holding the power button for a few seconds to reset the machine. If the issue persists, contact Nespresso customer service for further assistance.
Water Leakage
If you notice water leakage during the brewing process, ensure that all components are properly attached and secured. Check the capsule container to ensure that the capsule is inserted correctly and the brew head is closed tightly. If the issue persists, there may be a problem with the machine’s seals or gaskets. Contact Nespresso customer service for further assistance.
Capsule Not Piercing
If the coffee capsule is not properly pierced during the brewing process, ensure that it is inserted correctly and securely. Check for any obstructions or debris in the brew head that may prevent the piercing mechanism from functioning properly. If the issue persists, contact Nespresso customer service for further assistance.

Tips and Tricks
The Nespresso Turmix offers plenty of opportunities to experiment and customize your coffee experience. Here are a few tips and tricks to enhance your brewing adventures:
Experimenting with Coffee Flavors
While Nespresso offers a wide range of coffee capsules, don’t be afraid to mix and match different flavors to create your unique blend. Try combining two different capsules to create a personalized coffee experience that suits your taste preferences.
Creating Latte Art
If you enjoy indulging in a creamy latte, the Nespresso Turmix can help you create beautiful latte art. Froth some milk separately using a milk frother and pour it gently over your brewed coffee. Use a spoon or a toothpick to create intricate designs on the milk’s surface, and impress your guests with your latte art skills.
Customizing Brew Settings
Take advantage of the customizable brew settings on the Turmix to fine-tune your coffee. Adjust the brew temperature, strength, and volume to find the perfect balance that suits your taste. Play around with different settings until you discover your preferred combination.
Frequently Asked Questions
We understand that you may have some questions about using the Nespresso Turmix. Here are answers to some commonly asked questions:
Can I use non-Nespresso coffee capsules?
While the Nespresso Turmix is primarily designed for use with Nespresso coffee capsules, some compatible third-party capsules may also work. However, it is important to note that the use of non-Nespresso capsules may affect the performance and taste of your coffee. For the best results, we recommend using Nespresso branded capsules.
How often should the machine be descaled?
The frequency of descaling will depend on the hardness of your water. As a general guideline, it is recommended to descale the Nespresso Turmix approximately every three to six months. However, if you notice a decrease in performance or signs of mineral build-up, it may be necessary to descale more frequently.
Are the components dishwasher-safe?
No, the components of the Nespresso Turmix are not dishwasher-safe. It is recommended to wash the components, such as the drip tray and capsule container, by hand with warm soapy water. This ensures that they are cleaned properly and allows you to inspect for any signs of damage or wear.