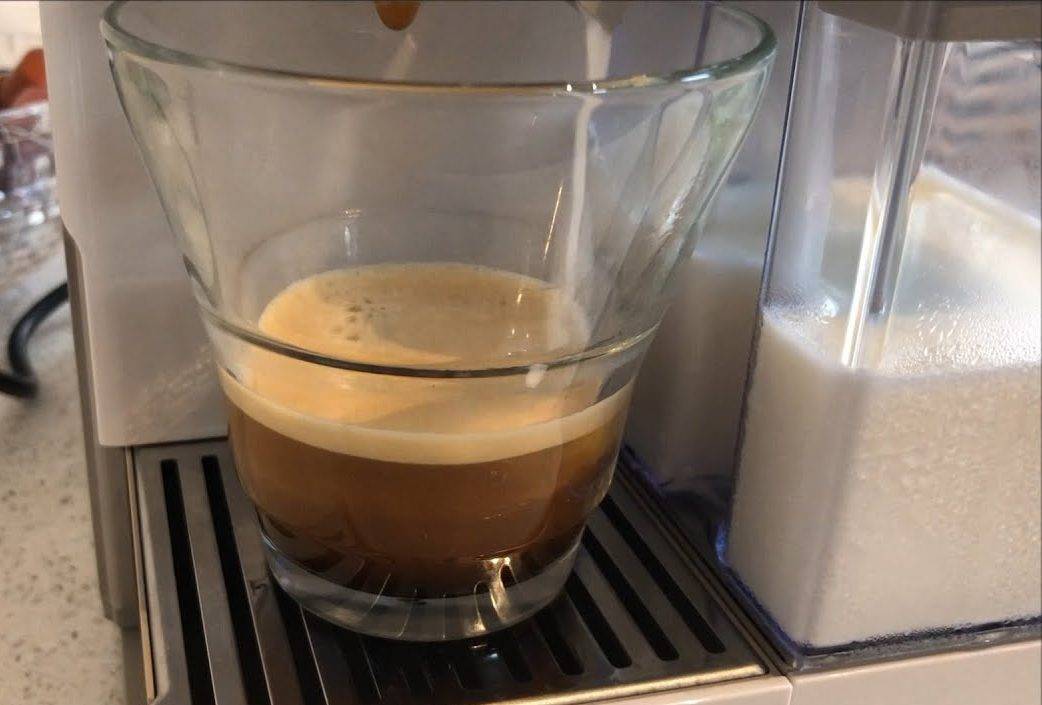
So you’ve just purchased the Nespresso Atelier machine and you’re excited to start crafting your own coffee and milk recipes. But before you get started, it’s important to know how to properly maintain your machine to ensure optimal performance and longevity. That’s where this step-by-step guide comes in. In this tutorial, provided by Nespresso, you will learn how to descale your Nespresso Atelier machine, removing scale build-up, maintaining coffee taste, and preventing any potential machine damage. The guide outlines the frequency of descaling depending on your water hardness and usage, and walks you through the entire descaling process, including filling the water tank, adding the descaling agent, entering the descaling mode, and rinsing the machine. Once you’ve completed the descaling, you can continue exploring other tutorials to further enhance your coffee-making skills with the Nespresso Atelier machine.
Step 1: Prepare the Machine
To begin the descaling process for your Nespresso Atelier machine, there are a few things you need to do in order to prepare the machine properly.
-
First, lift and close the lever to eject the capsule. This will ensure that the machine is ready for the descaling process.
-
Next, empty the drip tray, drip base, and capsule container. It’s important to remove any remaining water or residue to ensure that the descaling process is effective.
-
Fill the water tank with 500 ml of clean water. The water tank should be filled to the specified level to ensure that there is enough water for the descaling process.
-
Pour 1 pouch of Nespresso liquid descaling agent into the water tank. The descaling agent is specifically designed to remove scale build-up and maintain the taste of your coffee.
-
Insert the milk frother into its designated slot. The milk frother is an important component of your Nespresso Atelier machine, and it should be properly inserted before beginning the descaling process.
-
Finally, place a container with a minimum capacity of 1 liter under the head of the machine. This container will collect any liquid that flows out during the descaling process, so it’s important to have a container that is large enough to hold it all.
Step 2: Enter Descaling Mode
Once you have prepared the machine, you can now enter the descaling mode. This mode is specifically designed to guide you through the descaling process and ensure that it is done correctly.
-
To enter the descaling mode, simultaneously press the Lungo and Ristretto keys on your machine for 3 seconds. Both keys should start blinking, indicating that you have successfully entered the descaling mode.
-
After the keys start blinking, press the same keys again to start the descaling program. This will initiate the descaling process and the “Descaling” alert indicator light will stay lit orange throughout the entire descaling process.
Step 3: Perform Descaling
Once you have entered the descaling mode, it is important to perform the descaling process fully in order to ensure that your machine is properly descaled.
-
During the descaling process, make sure that the machine is not interrupted or experiences a power outage. Any interruption can cause the machine to return to the start of the descaling phase, so it’s important to keep it running smoothly.
Recommended By NespressoDude -
The descaling liquid will flow alternately from the coffee outlet and the milk frother during the descaling cycle. This ensures that all parts of the machine are thoroughly cleaned and descaled.
-
Once the descaling cycle is complete, the Lungo and Ristretto keys will start blinking, indicating that the descaling process has finished successfully.
Step 4: Rinse the Machine
After the descaling process is complete, it is important to rinse the machine to remove any remaining descaling agent and residue.
-
Begin by rinsing the water tank and filling it completely with fresh drinking water. This will ensure that all traces of the descaling agent are removed from the machine.
-
Press the Lungo and Ristretto keys again to initiate the rinsing process. The rinsing will occur through the coffee outlet and the milk frother, ensuring that all parts of the machine are thoroughly rinsed.
-
The Lungo and Ristretto keys will blink once the rinsing process is complete, indicating that your machine is ready to use again.
Step 5: Clean and Store
Once you have completed the descaling and rinsing process, it’s important to clean and store your machine properly to maintain its performance and longevity.
-
Remove the milk frother from the machine, rinse it thoroughly, and store it in its designated housing. Proper storage will prevent any damage to the milk frother and keep it in good condition for future use.
-
Fill the water tank with fresh drinking water to ensure that your machine is ready to brew delicious coffee anytime.
-
Use a damp cloth to clean the machine, removing any remaining residue or stains. This will keep your machine looking clean and well-maintained.
Conclusion
Congratulations! You have successfully completed the descaling process for your Nespresso Atelier machine. By following these steps, you have ensured that your machine is free from scale build-up, maintains the taste of your coffee, and prevents any potential damage. Thank you for following this tutorial, and enjoy your freshly brewed coffee from your Nespresso Atelier machine!


