Maintaining the cleanliness of your Breville appliances is key to ensuring their longevity and optimal performance. Whether it’s your trusty espresso machine, blender, or toaster, these cleaning tips will help you keep your Breville appliances free from grime and running smoothly. From simple wipe-downs to deep cleanings, you’ll discover effective techniques that will not only save you time but also enhance your overall kitchen experience. Say goodbye to the hassle of dirty appliances and hello to a sparkling, efficient kitchen with these handy cleaning tips for your Breville appliances.
General Cleaning Tips
Taking care of your Breville appliances is essential to ensure their longevity and optimal performance. By following these general cleaning tips, you can keep your appliances in top condition for years to come.
Unplug and Cool Down Appliances
Before you start cleaning any Breville appliance, it is important to unplug it from the power source. This ensures your safety and prevents any accidental damage. Additionally, allow the appliance to cool down completely before beginning the cleaning process. This will prevent any burns or accidents while cleaning.
Remove Detachable Parts
Most Breville appliances come with detachable parts that can be easily removed for cleaning. Take the time to carefully remove these parts according to the appliance’s instructions. This may include the filter, jars, blades, crumb trays, and other removable components. Removing these parts allows for a thorough cleaning and prevents any buildup or residue from affecting the appliance’s performance.
Wipe Down the Exterior
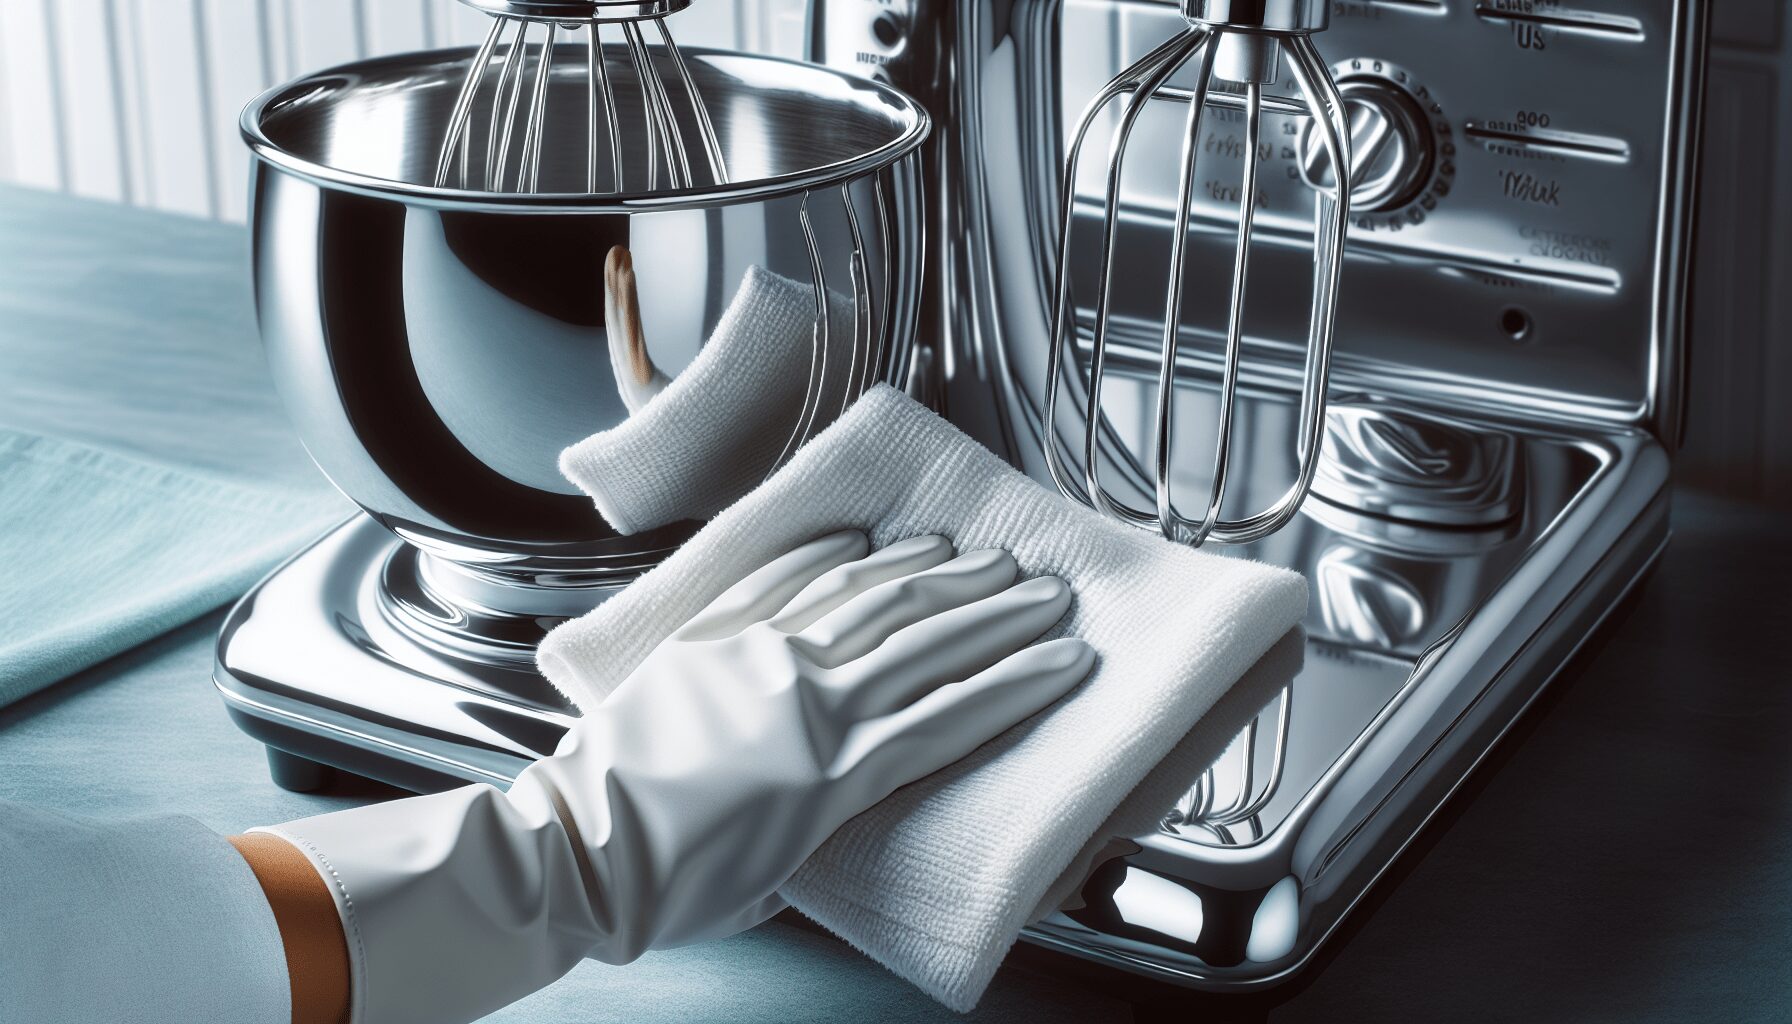
The exterior of your Breville appliance also requires regular cleaning. Using a damp cloth, gently wipe down the surface to remove any dust, fingerprints, or spills. Avoid using harsh chemicals or abrasive materials that may damage the appliance’s finish. It is important to maintain the cleanliness of the exterior, as it contributes to the overall aesthetics and hygiene of your appliance.
Clean the Interior
After removing detachable parts and wiping down the exterior, it is time to focus on cleaning the interior of your Breville appliance. Different appliances require specific cleaning methods, which we will explore in detail for each category. By keeping the interior clean, you ensure that your appliance continues to function efficiently and avoids any potential issues.
Cleaning Breville Coffee Machines
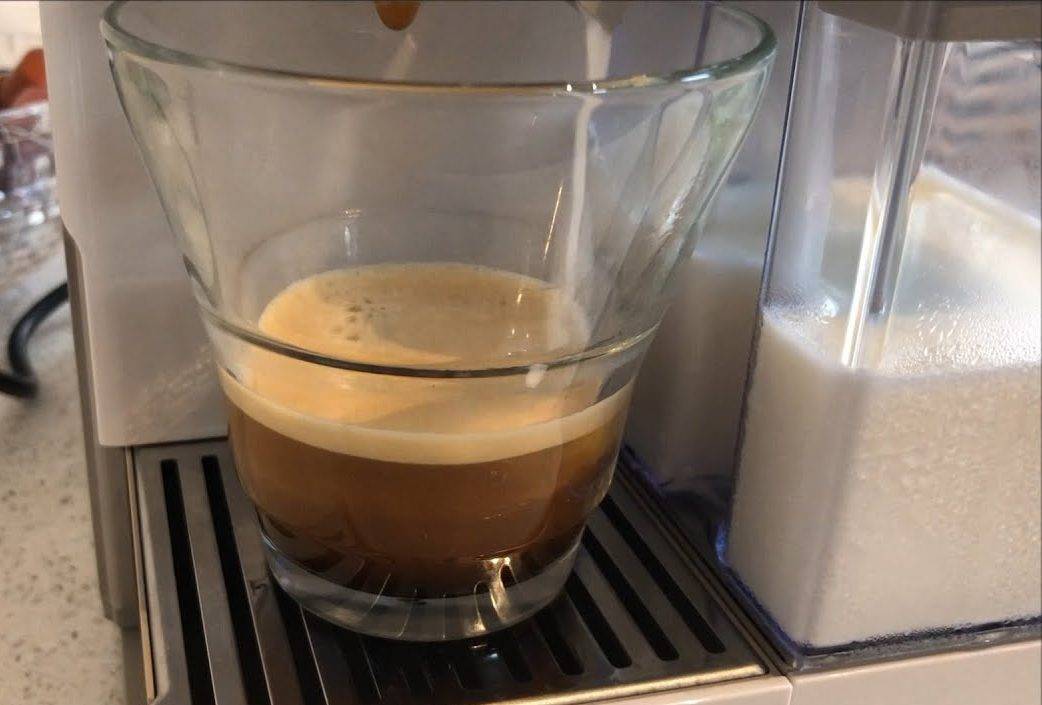
As coffee lovers, we rely on our Breville coffee machines to provide us with that perfect cup of joe every morning. To keep your coffee machine in excellent condition, follow these cleaning tips.
Descale Regularly
Mineral deposits can accumulate in your coffee machine’s water tank, affecting the taste and quality of your coffee. To combat this, it is crucial to descale your Breville coffee machine regularly. Follow the manufacturer’s instructions to safely and effectively remove the mineral buildup and ensure the optimal performance of your machine.
Clean the Filter
The filter in your Breville coffee machine plays a vital role in ensuring a smooth and flavorful brew every time. To maintain its efficiency, remove the filter and rinse it under running water. For a deep clean, you can also soak the filter in warm, soapy water and gently scrub away any residue. Make sure to dry the filter thoroughly before reinstalling it.
Remove Coffee Residue
Over time, coffee residue can accumulate in various parts of your Breville coffee machine, affecting the taste and performance. To remove this residue, prepare a solution of equal parts vinegar and water. Run this mixture through the coffee machine as if you were brewing a regular pot of coffee, but without the coffee grounds. Repeat this process a few times, followed by a few cycles with clean water, to completely remove any residue.
Clean the Milk Frother
If your Breville coffee machine has a milk frother, it is essential to clean it regularly. After each use, detach the frother and rinse it with warm, soapy water. If there are any stubborn milk residues, use a soft brush or toothbrush to gently scrub the frother. Rinse thoroughly and ensure it is completely dry before reattaching it to the coffee machine.
Wipe the Steam Wand
The steam wand on your Breville coffee machine should also be cleaned after each use. Wipe it with a damp cloth to remove any milk or coffee residue. If the residue is stubborn, carefully use a needle or pin to clean the tiny holes on the wand. Make sure to wipe it dry before storing or using the machine again.
Cleaning Breville Toasters
Toasters are a staple in most kitchens, and Breville toasters are known for their quality and reliability. To keep your toaster clean and functioning optimally, follow these cleaning tips.
Remove and Clean the Crumb Tray
One of the most important cleaning tasks for your Breville toaster is removing and cleaning the crumb tray. Over time, bread crumbs accumulate in the tray, which can lead to odors, smoke, and even fires. To avoid this, regularly remove the crumb tray and discard any crumbs. Wash the tray with warm soapy water and ensure it is completely dry before reinserting it into the toaster.
Clean the Exterior and Control Panel
The exterior of your Breville toaster can accumulate dust, grease, and fingerprints. To maintain its appearance, gently wipe the exterior surfaces with a damp cloth. For tougher grease or stains, use a mild kitchen cleaner or a mixture of baking soda and water. Make sure to avoid any electrical components or controls.
Wipe the Heating Elements
The heating elements inside your Breville toaster play a crucial role in toasting your bread evenly and efficiently. Over time, these elements can collect crumbs, grease, and other debris. Once the toaster has cooled down completely, gently wipe the heating elements with a damp cloth or sponge. Make sure not to apply excessive pressure or use abrasive materials that could damage the elements.
Cleaning Breville Blenders
Blenders are versatile appliances that help us create delicious smoothies, sauces, soups, and more. To ensure your Breville blender remains clean and in peak condition, follow these cleaning tips.
Detach and Clean the Blender Jar
Start by detaching the blender jar from the motor base. Remove any leftover contents and disassemble any removable parts, such as the lid and gasket. Wash these parts in warm, soapy water, and use a sponge or brush to remove any food residue. Rinse thoroughly and allow the parts to dry completely before reassembling.
Clean the Blade Assembly
The blade assembly is a critical component of your Breville blender, responsible for blending and chopping ingredients. To clean it, remove the blades carefully and wash them in warm, soapy water. Use a small brush or toothbrush to clean any stubborn residue. Make sure to handle the blades with care as they can be sharp. Rinse thoroughly and dry before reattaching to the blender jar.
Wipe the Base
The base of your Breville blender often accumulates drips, spills, and residue. After detaching the blender jar, wipe the base with a damp cloth to remove any splatters or stains. If needed, use a mild kitchen cleaner or a mixture of water and vinegar to tackle tough spots. Ensure the base is dry before reattaching the blender jar for storage or future use.
Cleaning Breville Juicers
Juicers allow us to enjoy fresh, nutritious juices made from fruits and vegetables. To keep your Breville juicer clean and working efficiently, follow these cleaning tips.
Disassemble and Rinse the Parts
Before cleaning your Breville juicer, disassemble it according to the manufacturer’s instructions. Rinse the juicing components, such as the pulp container, juice jug, and feeding chute, under warm, running water. Use a brush to remove any lingering particles or pulp. It is important to do this immediately after juicing to prevent any dried residue from becoming difficult to remove.
Clean the Filter Basket
The filter basket in your Breville juicer is responsible for separating the pulp from the juice. It is crucial to clean this component thoroughly after each use to maintain its efficiency. Remove the filter basket and rinse it under warm, running water. Use a brush or sponge to gently scrub away any residue. Ensure the filter basket is completely dry before reassembling.
Wipe the Exterior
After cleaning the detachable parts, wipe the exterior of your Breville juicer with a damp cloth. This will remove any splatters, juice stains, or fingerprints. For tougher stains, use a mild kitchen cleaner or a mixture of vinegar and water. Ensure the juicer is completely dry before storing or using it again.
Cleaning Breville Microwaves
Microwaves are a convenient and essential appliance for reheating and cooking a variety of foods. To maintain a clean and hygienic Breville microwave, follow these cleaning tips.
Remove and Clean the Turntable
The turntable in your Breville microwave is subjected to spills and splatters while heating food. Regularly remove the turntable and wash it in warm, soapy water. Gently scrub away any food residue with a soft sponge or brush. Rinse thoroughly and allow the turntable to dry completely before placing it back into the microwave.
Clean the Interior with Mild Detergent
To clean the interior of your Breville microwave, mix a solution of warm water and mild detergent. Dip a sponge or cloth into this solution and gently wipe down the interior surfaces, including the walls, ceiling, and door. Pay attention to any stubborn stains or food particles. Rinse the sponge or cloth frequently and replace the soapy water as needed.
Wipe the Exterior
The exterior of your Breville microwave can accumulate dirt, fingerprints, and spills. Wipe down the exterior surfaces with a damp cloth or sponge, using a mild kitchen cleaner if necessary. Make sure to avoid any electrical components or controls. Dry the exterior with a clean cloth to give it a polished appearance.
Cleaning Breville Grills
Breville grills are perfect for creating delicious grilled sandwiches, paninis, and even cooking meats and vegetables. To keep your Breville grill clean and ready for your next grilling session, follow these cleaning tips.
Clean the Grill Plates
The grill plates of your Breville grill are where all the cooking action takes place. Start by allowing the grill to cool down completely after use. Once cool, remove the grill plates as per the manufacturer’s instructions. Wash the plates in warm, soapy water, using a sponge or brush to remove any stuck-on food particles. Rinse thoroughly and ensure the plates are completely dry before reattaching them to the grill.
Remove and Clean the Drip Tray
Breville grills often come with a drip tray that collects excess grease and oil during cooking. Remove the drip tray and discard any liquid or food residue. Wash the tray in warm, soapy water, making sure to remove any grease buildup. Rinse thoroughly and allow the tray to dry completely before reinserting it into the grill.
Wipe the Exterior
After cleaning the detachable parts, wipe the exterior of your Breville grill with a damp cloth to remove any grease, oil, or food splatters. Pay attention to the control panel and any buttons or dials. For tougher grease stains, use a mild kitchen cleaner or a mixture of vinegar and water. Ensure the grill is completely dry before storing or using it again.
Cleaning Breville Food Processors
Food processors are a versatile kitchen tool, helping us with tasks such as chopping, slicing, and pureeing ingredients. To keep your Breville food processor clean and functioning efficiently, follow these cleaning tips.
Detach and Clean the Bowl, Lid, and Blades
Start by detaching the bowl, lid, and any other removable attachments from your Breville food processor. Wash these parts in warm, soapy water, using a sponge or brush to remove any food residue. Pay close attention to the blades, ensuring they are thoroughly cleaned and free from any debris. Rinse all parts carefully and allow them to dry completely before reassembling.
Clean the Food Chute
The food chute in your Breville food processor is a common area for food particles, especially when processing larger ingredients. After each use, detach the food chute and rinse it under running water. Use a brush or sponge to remove any stubborn residue. Rinse thoroughly and dry completely before reattaching to the food processor.
Wipe the Base
The base of your Breville food processor is where the motor and controls are located. To clean the base, use a damp cloth to wipe away any spills, stains, or grease. Avoid using abrasive materials or harsh chemicals that may damage the surface. Ensure the base is completely dry before storing or using the food processor again.
Cleaning Breville Kettles
Breville kettles are a convenient and quick way to boil water for hot beverages or cooking purposes. To keep your Breville kettle clean, follow these cleaning tips.
Descale Regularly
Mineral deposits from water can accumulate inside your Breville kettle over time, affecting its performance and appearance. To remove these deposits, descale your kettle regularly. Fill the kettle with equal parts water and vinegar, then let the solution sit for an hour. Afterward, boil the solution and allow it to sit for an additional hour. Rinse the kettle thoroughly with clean water and boil a few cycles to eliminate any vinegar taste or odor.
Clean the Filter
Some Breville kettles come with removable filters to prevent any impurities from entering your hot water. To clean the filter, detach it from the kettle and rinse it under running water. Use a brush or sponge to remove any particles or residue. Make sure the filter is completely dry before reattaching it to the kettle.
Wipe the Exterior
Regularly wipe down the exterior of your Breville kettle with a damp cloth to remove any grease, fingerprints, or spills. For tougher stains or mineral deposits, use a mixture of water and vinegar. Make sure to dry the kettle thoroughly before using or storing it.
Cleaning Breville Ovens
Breville ovens are a great alternative to traditional ovens, providing quick and efficient cooking. To maintain a clean and functional Breville oven, follow these cleaning tips.
Remove and Clean the Crumb Tray
The crumb tray in your Breville oven is designed to collect any food particles or crumbs that may fall during cooking. Regularly remove the crumb tray, discard any debris, and wash it in warm, soapy water. Make sure to remove any grease buildup or stubborn residue. Rinse thoroughly and allow the tray to dry completely before reinserting it into the oven.
Clean the Interior with Mild Detergent
To clean the interior of your Breville oven, first, ensure it is completely cool and unplugged. Mix warm water with mild detergent and use a sponge or cloth to wipe down the interior surfaces. Pay special attention to any spills, stains, or food residue. Rinse the sponge or cloth frequently and replace the soapy water as needed. Avoid using harsh chemicals or abrasive materials that may damage the oven’s interior.
Wipe the Exterior
The exterior of your Breville oven can accumulate splatters, fingerprints, and grease. Wipe down the exterior surfaces with a damp cloth or sponge, using a mild kitchen cleaner if necessary. Pay attention to any controls or buttons, ensuring they are cleaned and dried properly. Dry the exterior with a clean cloth before using or storing the oven.
By following these comprehensive cleaning tips for your Breville appliances, you can ensure their longevity, optimal performance, and a hygienic kitchen environment. Remember to always refer to the manufacturer’s instructions for specific cleaning recommendations and to prioritize your safety by unplugging appliances before cleaning. Happy cleaning!


