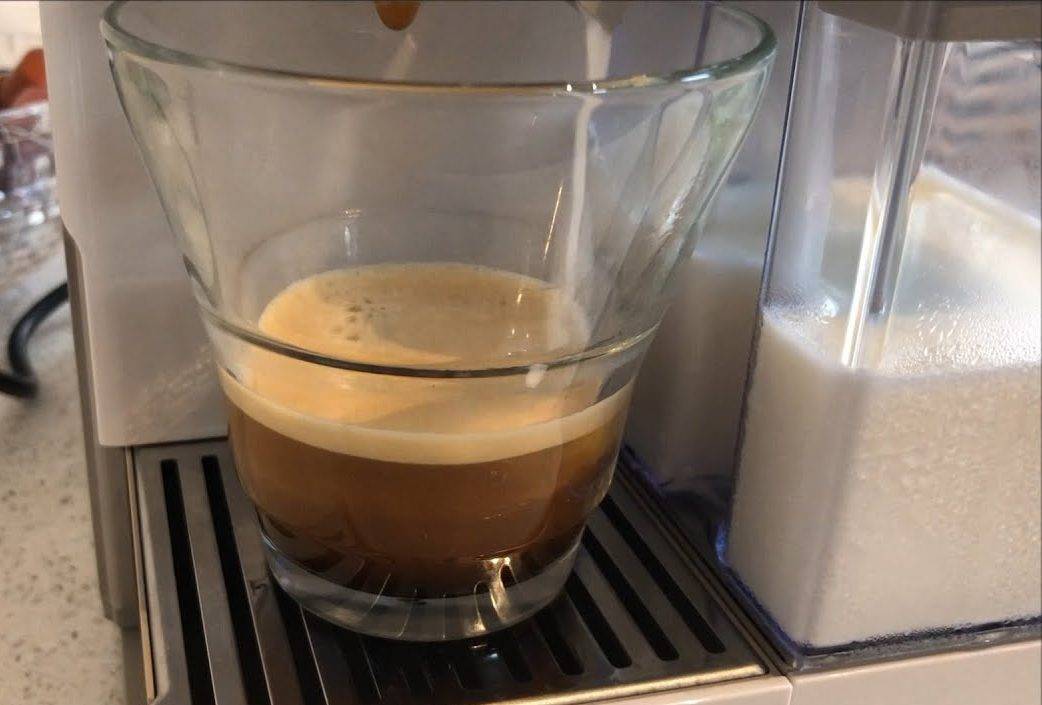
Is your Breville Coffee Maker in need of a thorough cleaning? Look no further! This article will guide you through the step-by-step process of cleaning your beloved coffee maker, ensuring it stays in optimum condition for delicious cups of joe. From descaling to removing coffee stains, we’ve got you covered. Say goodbye to grimy build-up and hello to a sparkling clean Breville Coffee Maker that will brew your favorite beverage with perfection every time.
Gather Necessary Supplies
Before you begin cleaning your Breville coffee maker, make sure you have all the necessary supplies. Here’s what you’ll need:
Cleaning solution
Having a suitable cleaning solution is essential for effectively cleaning your coffee maker. Look for a cleaning solution specifically designed for coffee machines, as this will ensure the best results.
White vinegar
White vinegar is a great natural cleaning agent that can effectively remove mineral deposits and buildup inside your coffee maker. It’s an inexpensive and easily accessible option for descaling your machine.
Warm water
Warm water is crucial for creating the ideal cleaning solution and rinsing off any cleaning agents. Avoid using hot water, as it can damage certain components of your coffee maker.
Soft cloth or sponge
A soft cloth or sponge will be your go-to tool for wiping and cleaning various parts of your coffee maker. Make sure it is non-abrasive to avoid scratching the surface.
Small brush (such as a toothbrush)
A small brush, like a toothbrush, will come in handy for cleaning hard-to-reach areas and removing any stubborn grime or residue.
Paper towels
Having paper towels on hand is useful for drying certain components of your coffee maker or wiping up any spills or drips.
Clean water
Clean water is essential for rinsing off any cleaning solutions or residues. Make sure you have access to clean water throughout the cleaning process.
Preparing the Coffee Maker
Before you dive into the cleaning process, it’s important to prepare your coffee maker properly. Follow these steps to ensure everything is ready:
Unplug the coffee maker
Safety should always be a priority when cleaning any electrical appliances. Unplug your Breville coffee maker from the power source to avoid any accidents or mishaps.
Allow it to cool down
Giving your coffee maker some time to cool down is crucial to prevent any burns or injuries during the cleaning process. Wait until it reaches a safe temperature before proceeding.
Remove any remaining coffee grounds
Before you start cleaning, it’s essential to remove any leftover coffee grounds from the machine. Dispose of them in a compost bin or trash can, depending on your waste disposal preferences.
Cleaning the Removable Parts
To ensure a thorough cleaning of your Breville coffee maker, you’ll need to focus on cleaning the removable parts. Follow these steps to clean each part effectively:
Remove and wash the carafe
Start by removing the carafe from the coffee maker. Wash it with warm, soapy water, either by hand or in the dishwasher if it is dishwasher safe. Rinse the carafe thoroughly to remove any soap residue and dry it before reassembling.
Clean the removable filter
If your coffee maker has a removable filter, take it out and rinse it under warm water. Use a soft brush or sponge to gently scrub away any trapped coffee grounds or residue. Ensure it is completely clean before reinserting it into the coffee maker.
Remove and clean the drip tray
Check if your Breville coffee maker has a removable drip tray. If it does, take it out and wash it with warm, soapy water. Scrub away any coffee stains or buildup that may have accumulated over time. Rinse the drip tray thoroughly and dry it before putting it back in its place.
Descaling the Coffee Maker
Descaling is an essential step in maintaining the performance and longevity of your coffee maker. Follow these steps to descale your Breville coffee maker effectively:
Prepare a descaling solution
Consult your coffee maker’s user manual or the instructions on your chosen descaling solution to determine the right amount to use. Typically, a mixture of white vinegar and water is recommended for descaling. Mix the solution accordingly in a container.
Fill the water tank with the solution
Pour the descaling solution into the water tank of your coffee maker. Be sure to fill it to the recommended level indicated by the manufacturer or the solution instructions. This solution will help remove mineral deposits and scale buildup inside your machine.
Run a brewing cycle
Turn on your coffee maker and initiate a brewing cycle as you would when making coffee. Allow the machine to run the entire brewing cycle, ensuring that the descaling solution is circulated through the internal components.
Repeat the brewing cycle with clean water
After the descaling cycle is complete, run another brewing cycle with clean water. This step is crucial for removing any remaining descaling solution from the coffee maker. Repeat this process until the water runs clear and free of any vinegar odor.
Cleaning the Exterior
While cleaning the internal components of your coffee maker is crucial, don’t forget to clean the exterior as well. Follow these steps to give your coffee maker a shiny and clean appearance:
Wipe the exterior with a damp cloth
Moisten a soft cloth with warm water and gently wipe down the exterior surfaces of your coffee maker. Pay attention to any visible stains or spills, ensuring you remove them thoroughly.
Use a toothbrush for hard-to-reach areas
For those hard-to-reach areas or narrow crevices, use a toothbrush dipped in warm water. Gently scrub away any dirt, grime, or residue that may have accumulated over time. Be careful not to apply excessive force that could damage delicate parts.
Dry the exterior with a clean cloth
Once you’re satisfied with the cleanliness of the exterior, use a clean, dry cloth to wipe away any remaining moisture. This step ensures that no water droplets or excess moisture are left behind, giving your coffee maker a polished and dry finish.
Cleaning the Brew Head and Portafilter
The brew head and portafilter are essential components of your coffee maker that require regular cleaning. Here’s how you can effectively clean them:
Remove the portafilter
For easy access, remove the portafilter from your coffee maker. Most portafilters can be detached by twisting them counterclockwise or following the specific instructions provided by the manufacturer.
Rinse the portafilter with warm water
Hold the portafilter under warm running water and rinse away any remaining coffee grounds or residue. Make sure to thoroughly clean both the inside and outside of the portafilter.
Clean the brew head using a small brush
Take a small brush, such as a toothbrush or a specialized coffee brush, and gently scrub the brew head. Pay close attention to removing any coffee oils or residue that may have accumulated. This step helps ensure the freshest and best-tasting coffee.
Dry the portafilter and brew head
After cleaning, dry both the portafilter and brew head with a clean cloth or paper towel. This will prevent any moisture from lingering and potentially causing mold or mildew growth.
Cleaning the Steam Wand
The steam wand is a crucial part of your coffee maker if you enjoy creating milk-based beverages. Here’s how you can effectively clean the steam wand:
Wipe the steam wand with a damp cloth
Begin by wiping the steam wand with a damp cloth to remove any visible milk residue. Ensure the cloth is clean and damp, but not soaking wet, as excess water could find its way into the internal components.
Use a toothbrush for crevices
To clean any crevices or hard-to-reach areas of the steam wand, use a toothbrush dipped in warm water. Gently scrub away any milk residue or buildup, paying close attention to the nozzle and any other openings.
Purge any remaining milk
Before you finish cleaning the steam wand, make sure to purge any remaining milk inside. Turn on the steam wand and let it run for a few seconds, releasing any trapped milk. This step helps prevent clogging and ensures optimal performance.
Wipe the steam wand dry
After cleaning, use a clean, dry cloth to wipe the steam wand and remove any remaining moisture. This step is important to prevent the growth of bacteria or other contaminants.
Cleaning the Water Reservoir
The water reservoir of your coffee maker also requires regular cleaning to maintain its cleanliness and performance. Follow these steps to clean it effectively:
Empty the water reservoir
First, remove any remaining water from the water reservoir. Carefully pour out the water into a sink or drain. Ensure the reservoir is completely empty before proceeding to the next step.
Clean the interior with a soft cloth
Dampen a soft cloth with warm water and gently wipe the interior of the water reservoir. Pay attention to any visible stains or deposits and make sure to remove them thoroughly. For stubborn stains, a mild soap solution can be used.
Rinse and dry the reservoir
After wiping the interior, rinse the water reservoir with clean water to remove any cleaning agents or residues. Make sure to rinse it thoroughly to avoid leaving any soap residue behind. Finally, dry the reservoir with a clean cloth before reassembling it.
Cleaning the Outlet Holes
The outlet holes in your coffee maker are responsible for delivering the brewed coffee to your cup. It’s crucial to keep them clean to ensure optimal flow and taste. Follow these steps to clean the outlet holes:
Inspect the outlet holes
Take a moment to inspect the outlet holes on your coffee maker. Look for any clogs, buildup, or residue that may be affecting the flow of the brewed coffee. Identify any areas that require cleaning.
Use a small brush to remove any debris
Using a small brush, such as a toothbrush or a specialized coffee brush, gently remove any debris or buildup from the outlet holes. Be careful not to apply excessive force that could damage the delicate components.
Wipe the holes with a damp cloth
Moisten a cloth with warm water and wipe the outlet holes to remove any loosened debris or residue. This step ensures that the holes are clean and ready to deliver the freshest coffee flavor.
Reassembling and Testing
After successfully cleaning each component of your Breville coffee maker, it’s time to reassemble the machine and ensure it’s functioning correctly. Follow these steps to complete the cleaning process:
Dry all the cleaned parts
Before reassembling, make sure all the components, including the carafe, filter, portafilter, drip tray, and steam wand, are completely dry. Any moisture left behind could impact the performance and cleanliness of your coffee maker.
Reassemble the coffee maker
Carefully reattach all the components to their respective positions in the coffee maker. Make sure everything fits correctly and securely, ensuring that no parts are loose or improperly placed.
Run a brewing cycle with water only
Fill the water tank with clean water and initiate a brewing cycle without any coffee grounds. This step helps flush out any remaining cleaning agents or residues and ensures that your next cup of coffee will be free from any unwanted flavors.
Discard the brewed water
After the brewing cycle is complete, discard the brewed water. This step ensures that any remaining traces of cleaning agents or residues are eliminated.
Enjoy clean and fresh coffee
Congratulations! Your Breville coffee maker is now clean and ready to brew delicious cups of coffee. Sit back, relax, and savor the taste of freshly brewed coffee from your sparkling clean coffee maker.
Remember, regularly cleaning your coffee maker is essential to maintain its performance and ensure the best-tasting coffee. By following these steps and investing a little time in cleaning, you’ll enjoy a consistently delicious cup of coffee every time you brew.


