
Are you looking for a step-by-step guide on how to descale your Nespresso Vertuo Plus machine? Look no further! In this informative video by the fiX files, you will learn everything you need to know about descaling your machine and keeping it in tip-top shape. The video begins by explaining the importance of descaling when the red and green ring around the button appears, indicating that it’s time to clean out any mineral buildup in the water tank. The narrator walks you through each step of the descaling process, from powering off the machine to adding the descaling solution and entering the special functions menu. The video even fast-forwards through the process to save you time, and provides helpful tips along the way. Once you’ve completed the rinse phase, you can sit back, relax, and enjoy a freshly descaled Nespresso Virtuo Plus machine. Cheers to hassle-free brewing!
Nespresso Vertuo Plus Descaling How-To
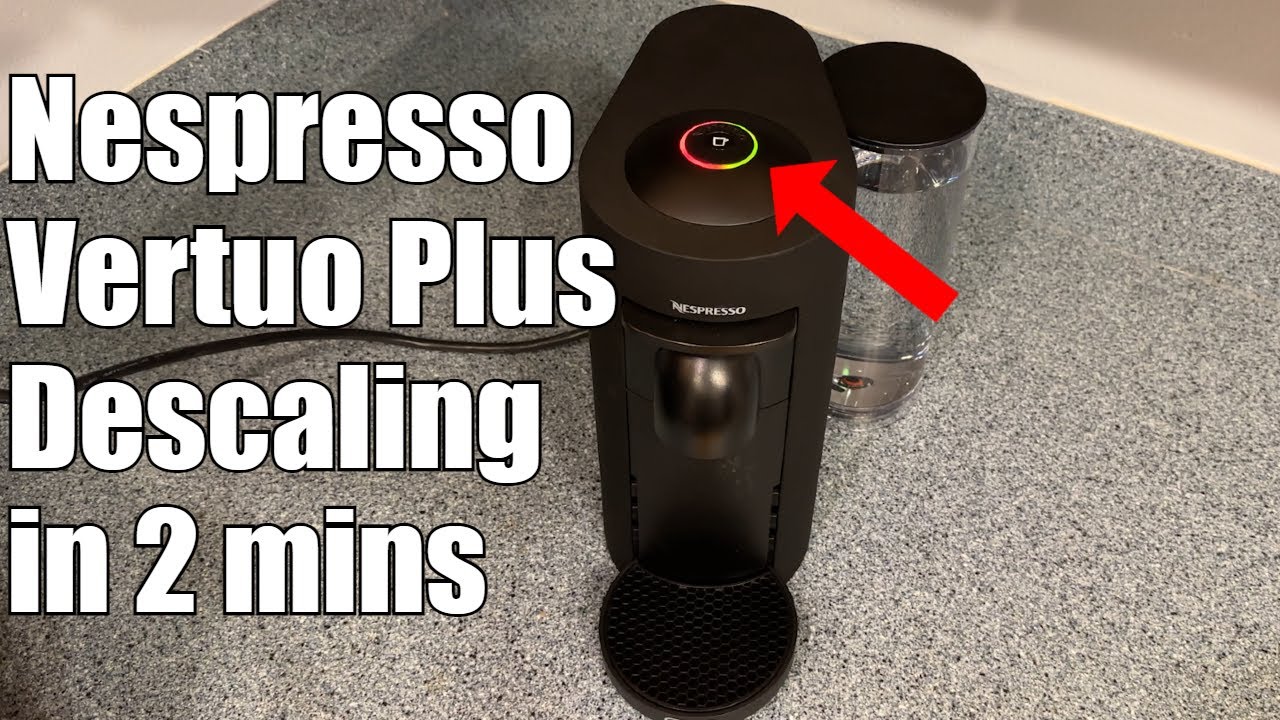
Are you noticing a red and green ring around the button on your Nespresso Vertuo Plus machine? This is the alarm telling you that it’s time to descale your machine. Descaling is an important routine that the machine runs through to clean out any minerals that may have built up on the machine’s internals. While descaling is a bit time-consuming, it is a fairly easy process. In this comprehensive guide, we will walk you through the step-by-step instructions on how to descale your Nespresso Vertuo Plus machine. Let’s get started!
Step 1: Prepare the Machine
The first step is to prepare the machine for the descaling process. Lift up the lever to eject any capsule that may be in place. Once the capsule is ejected, push the lever back down to close the machine. To power off the machine, hold down the lever for about 3 seconds. This will ensure that the machine is ready for the next steps.
Step 2: Obtain Descaling Solution
Next, you will need to obtain a descaling solution. You can purchase a descaling kit specifically designed for Nespresso machines from either Nespresso or on Amazon. We recommend getting a two-pack for convenience. Once you have the descaling solution, you’re ready to move on to the next step.


Step 3: Mix the Descaling Solution
To prepare the descaling solution, snip the corner of the cleaning solution tube. This will allow you to pour the cleaning solution into a full tank of water. Make sure to follow the instructions on the descaling solution kit for the correct ratio of cleaning solution to water. Mixing the solution properly is crucial for an effective descaling process.
Step 4: Enter Special Functions Menu
Now it’s time to enter the special functions menu on your Nespresso Vertuo Plus machine. Press and hold both the lever and the Brew Button simultaneously for about 3 seconds. If done correctly, a steady orange light will appear, indicating that you have successfully entered the special functions menu.

Step 5: Enter Descaling Mode
Once you’re in the special functions menu, press down on the lever once to enter descaling mode. At this point, the orange light will start blinking, indicating that you have entered the descaling mode successfully. This is a crucial step in the descaling process.
Step 6: Prepare a Container
Before starting the descaling process, you need to prepare a container to catch the water and descaling solution that will come out of the spout. If necessary, remove the cup holder to make way for the container. Ensure that the container is large enough to hold all the liquid during the descaling process.

Step 7: Start the Descaling Process
Now it’s time to start the descaling process. Press the Brew Button once to begin the descaling. Once the process starts, the machine will run through the cleaning solution in the tank. During this phase, it is important to let the machine run on autopilot. It will make various sounds and stop on its own. There is no need to intervene or babysit the machine during this phase.
Step 8: Wait for Descaling to Complete
The descaling process typically takes around 22 minutes, although this may vary depending on your specific machine. During this time, the machine will go through its cleaning routine, ensuring that all the descaling solution is thoroughly circulated. Once the process is complete, the machine will make various sounds and the light will still be blinking orange.
Step 9: Rinse the Machine
Now that the descaling process is complete, it’s time to rinse the machine. First, dump the water that was used to catch the descaling solution. Then, remove and thoroughly wash the tank to clean out any remaining descaling solution. Once the tank is cleaned, fill it with clean water and reattach it to the machine. Press the Brew Button once to begin the rinse phase. Make sure that the container is in place to catch the water as the machine goes through the rinse phase.
Conclusion
Congratulations! You have successfully descaled your Nespresso Vertuo Plus machine. Before you start brewing any beverages, allow the machine to rest for 10 minutes. This will ensure that the machine is fully ready for use. Descaling your machine regularly is essential to maintain its performance and longevity. By following these simple steps, you can keep your Nespresso Vertuo Plus in excellent condition for many years to come. Cheers to great coffee!