
In this informative video by Nespresso, you will learn the step-by-step process of descaling your Nespresso KitchenAid coffee machine. Descaling is an essential maintenance task that ensures you can enjoy a perfect cup of coffee every time. It is recommended to descale your machine once a month for optimal performance. First, remove the water reservoir and clean it with fresh water, then dry it thoroughly. Next, add two sachets of descaling solution into the reservoir and fill it up to the ‘max’ mark with water. Place an empty reservoir with a minimum capacity of 1.5 liters under the coffee outlet, and turn the selection dial all the way to the left to start the descaling process. Hold the dial in this position for 6 seconds until the light starts flashing. Then, turn the dial all the way to the right until the light above this position begins to blink. Press the start button to initiate the descaling cycle, allowing the water to fully run through until the reservoir is empty. Refill the reservoir up to the ‘max’ mark and repeat the program, this time using only water for rinsing purposes. Once the program is complete, your machine will automatically return to the regular usage mode. Embrace the joy of a freshly descaled Nespresso KitchenAid coffee machine and experience the pleasure of a perfectly brewed cup of coffee every time.
How to Descale Your Nespresso KitchenAid Coffee Machine
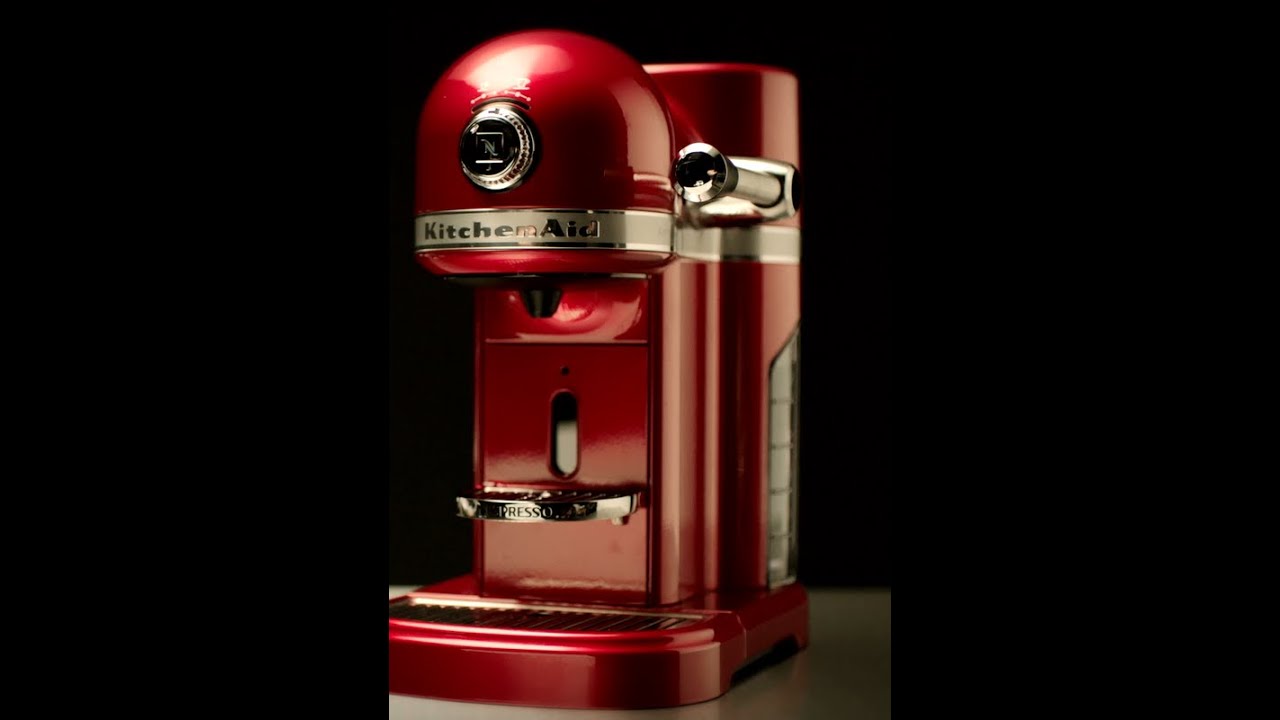
Are you a coffee lover who owns a Nespresso KitchenAid coffee machine? If so, it’s important to properly maintain your machine to ensure the best quality cup of coffee every time. One essential maintenance task is descaling, which helps remove mineral build-up and ensures your machine operates smoothly. In this article, we will guide you through the step-by-step process of descaling your Nespresso KitchenAid coffee machine. So, grab a cup of your favorite coffee and let’s get started!

Preparation
Before we begin the descaling process, it’s important to gather all the necessary materials. You will need:
- Nespresso descaling solution: This specialized solution is designed to effectively remove mineral build-up from your machine.
- Clean water: Make sure you have access to clean water for rinsing.
- Empty reservoir: Ensure you have an empty water reservoir to begin the descaling process.
- A container: You will need a container with a capacity of at least 1.5 liters to collect the water during the descaling process.
Once you have everything ready, let’s move on to the step-by-step process of descaling your Nespresso KitchenAid coffee machine.

Step 1: Remove and Clean Water Reservoir
To start the descaling process, you need to remove the water reservoir from your Nespresso KitchenAid coffee machine. Take out the reservoir and give it a thorough clean using clean water. Make sure to remove any dirt or residue that may have accumulated over time. Once cleaned, dry the reservoir before proceeding to the next step.
Step 2: Prepare Descaling Solution
Now that your water reservoir is clean and dry, it’s time to prepare the descaling solution. Follow the instructions on the Nespresso descaling solution package to ensure the correct ratio of solution to water. Typically, you will need to use two sachets of the descaling solution for a full reservoir of water.
Step 3: Fill Water Reservoir
Once the descaling solution is prepared, fill the water reservoir with clean water up to the “max” fill line. Be sure to pour the water slowly to avoid spills or overfilling the reservoir.

Step 4: Place Empty Reservoir
Now, place an empty container with a capacity of at least 1.5 liters under the coffee spout. This container will collect the water during the descaling process.
Step 5: Start Descaling Function
With the water reservoir filled and the empty container in place, it’s time to start the descaling function on your Nespresso KitchenAid coffee machine. Follow the instructions specific to your machine model to activate the descaling function.
Typically, you will need to turn the selection knob fully to the left until the descaling function starts. Hold the knob in this position for approximately 6 seconds until the light begins to blink. Then, turn the selection knob fully to the right until the light above this position starts blinking. Press the start button to initiate the descaling process.

Step 6: Rinse and Repeat
During the descaling process, water will flow through your machine and into the container below. Allow the water to fully flow until the water reservoir is empty. This process helps remove any mineral build-up from the internal components of your coffee machine.
Once the first descaling cycle is complete, refill the water reservoir with clean water up to the “max” fill line. Repeat the descaling program using only water this time. This step helps rinse out any remaining descaling solution from your machine.
Step 7: Refill Water Reservoir
After completing the descaling program with water, it’s essential to refill the water reservoir once again with clean water up to the “max” fill line. This ensures that your machine is ready for regular use.

Step 8: Rinse with Water Only
With the water reservoir filled with clean water, run the machine in regular mode without any coffee capsules. This step helps to flush out any remaining water from the descaling process and ensures that your Nespresso KitchenAid coffee machine is clean and ready to brew your favorite cup of coffee.
Step 9: Return to Regular Use
Congratulations! You have successfully descaled your Nespresso KitchenAid coffee machine. It’s now ready for regular use, and you can go ahead and enjoy the perfect cup of coffee.

Conclusion
Regular descaling is crucial for maintaining the performance and longevity of your Nespresso KitchenAid coffee machine. By following these simple steps, you can ensure that your machine continues to deliver delicious coffee without any mineral build-up impacting the taste or functionality. So, make it a monthly ritual, and remember to always consult your machine’s specific user manual for any additional instructions. Happy brewing!