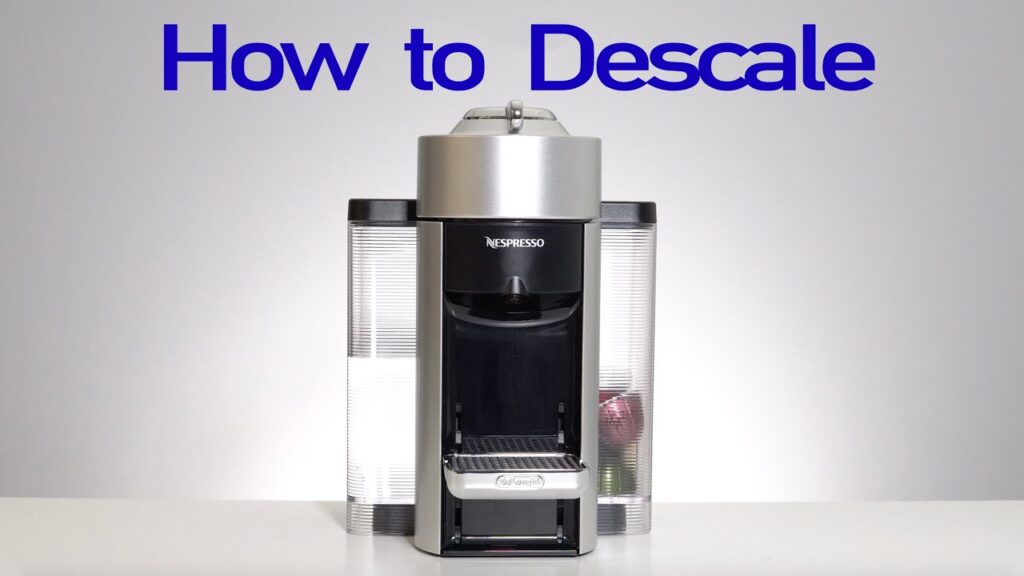
Hey there! Are you experiencing blinking lights on your Nespresso vertuo machine that’s preventing you from brewing your beloved coffee? Well, it’s probably time to descale your Nespresso machine! In this informative video by Lifestyle Lab, you’ll find step-by-step instructions on how to descale your Nespresso Vertuoline and Vertuo machines. The video also provides a link to a more affordable alternative to the Nespresso descaling solution. Descaling your machine is crucial for its overall health, longevity, and ensuring a delicious cup of coffee every time. So, let’s dive right in and tackle the descaling process together!
Taking care of your Nespresso machine has never been easier with this detailed video tutorial. Make sure to remove any remaining pods, check for a descaling solution in your water tank (Nespresso or a cheaper off-brand alternative), and press and hold the top button to enter the descaling mode. Place a container under the spout, run the descaling process, rinse the water tank with clean water, and voila! Your machine will be properly maintained, free from hard water buildup, and ready to brew coffee for many delightful days to come. So, sit back, relax, and enjoy watching this helpful video guide.
How to Descale Your Nespresso Machine
Has your Nespresso Vertuo machine started to blink and not let you brew coffee? Don’t worry, it’s just indicating that it’s time to descale your machine. Descaling your Nespresso machine is essential for its overall health and longevity. In this article, we will provide you with step-by-step instructions on how to descale your Nespresso Vertuoline and Vertuo machines.
Step 1: Prepare Your Machine
Before starting the descaling process, there are a few things you need to do to prepare your machine:
-
Remove any remaining pods from the machine. Open the machine and discard any pods that are still inside. Make sure the system is empty before proceeding.
-
Check for descaling solution in the water tank. Ensure that there is a descaling solution in your water tank. You can choose to use the Nespresso descaling solution or opt for a cheaper alternative. We recommend using a descaling solution to effectively remove any mineral buildup in your machine.
Step 2: Enter Descaling Mode
Once you have prepared your machine, follow these steps to enter the descaling mode:
-
Press and hold the top button on your Nespresso machine for 7 seconds. The top light will begin to blink rapidly.
-
Lock the top handle of the machine all the way in a clockwise direction.
-
Unlock the top handle and press and hold the center button for 7 seconds. The top light will continue to blink rapidly.
Step 3: Prepare the Container
Before starting the descaling process, you will need to place a container under the spout to collect the water and descaling solution mixture. The container should have a capacity of at least 20 ounces or 600 milliliters. We recommend removing the drip tray and using a large bowl for convenience.
Step 4: Start the Descaling Process
Once everything is set up, you can start the descaling process:
-
Lock the machine by turning the top handle all the way in a clockwise direction.
-
Press the top center button to start the descaling process. The machine will run through its descaling cycle using the solution in your water tank. The process will stop automatically once completed.
Step 5: Rinse the Water Tank
After the descaling process is complete, it’s important to rinse the water tank:
-
Remove the water tank from the machine.
-
Rinse the water tank thoroughly with clean water to remove any remaining descaling solution.
-
Refill the water tank with clean water. Do not use descaling solution for this step.
Step 6: Run a Clean Water Flush
To ensure that all traces of the descaling solution are removed from your machine, follow these steps:
-
Reinstall the water tank back into the machine.
-
Press the top center button to run a clean water flush. This will flush clean water through the machine, removing any descaling solution residue.
Step 7: Exit Descaling Mode
Once the clean water flush is complete, you can exit the descaling mode:
-
Press and hold the top button for 7 seconds. This will exit the descaling mode.
-
The top light will return to a solid state, indicating that you have successfully exited the descaling mode.
Step 8: Maintenance and Reset
After completing the descaling process, it’s important to ensure that your machine is fully descaled and reset:
-
Check that your machine is free from any remaining mineral buildup. A fully descaled machine will ensure the best performance and longevity.
-
Your Nespresso machine is now ready to brew coffee again. Enjoy your freshly descaled and maintained machine!
Step 9: Recommended Descaling Solution
If you’re looking for a descaling solution, we recommend checking out the link in the description for a recommended descaling solution. We have provided an alternative option that is cheaper but equally effective in descaling your Nespresso machine.
Step 10: Conclusion
By following these steps, you can effectively descale your Nespresso machine and maintain its overall health and longevity. Descaling your machine regularly is crucial to prevent any mineral buildup and ensure the best possible brewing experience. We hope this comprehensive guide has been helpful to you. Happy brewing!


